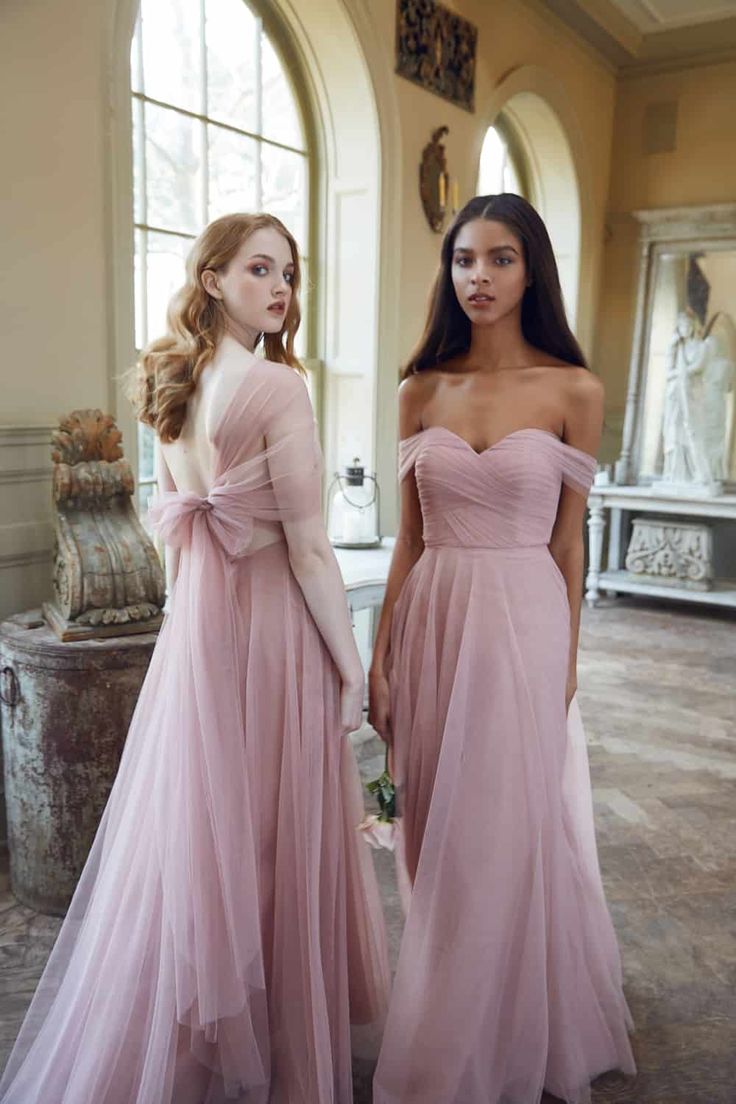
I wanted to have my own long tiered tulle tutu for Burning Man this year but the affordable ones online looked really thin and poorly made. Unfortunately, Joanne went out of business so my local fabric options were zero. But, I went to GoodWill and scored big! I found a brand new light pink bridesmaid dress by Jenny Yoo made from tons of tulle! It was way bigger than my size but it didn’t matter, I just wanted it for the fabric. A $15 purchase of high quality tulle (most of the tulle at the large fabric retailers are scratchy so I was stoked to find this).
I cut everything off the dress making sure to keep the layers intact. After eyeballing the amount of tulle I had, I thought it would pan out. I ended up cutting everything into 6″ wide strips for as long as the fabric was starting from the bottom and doing my best to keep the circles. I wanted each tier to get wider as it went down so the longer the pieces the better! When sewing, if I ran out of a piece and my line wasn’t done, I just started a new one where the last one left off (you can’t tell).
I identified the a ribbon I would use for the front tie. Near the top of my waist I wanted the skirt to go from the front of my one hip, around my back, and to the front of my other hip which turned out to be about 18″ when all is said and done (for me). I found the center of the ribbon and marked off 9″ on each side to account for this. I started on one side’s 9″ mark from the center and halved the fabric, ruched it as I went. It felt like I was ruching 4x for the space I was taking up which made it look extra fluffy!
When you do this there will be two pieces hanging down (since you sewed it in half). One will be used as the fluffy outside piece and the other will be the inside piece you sew the next piece on to. When you sew the next piece on, you want the excess to be facing out (opposed to in).
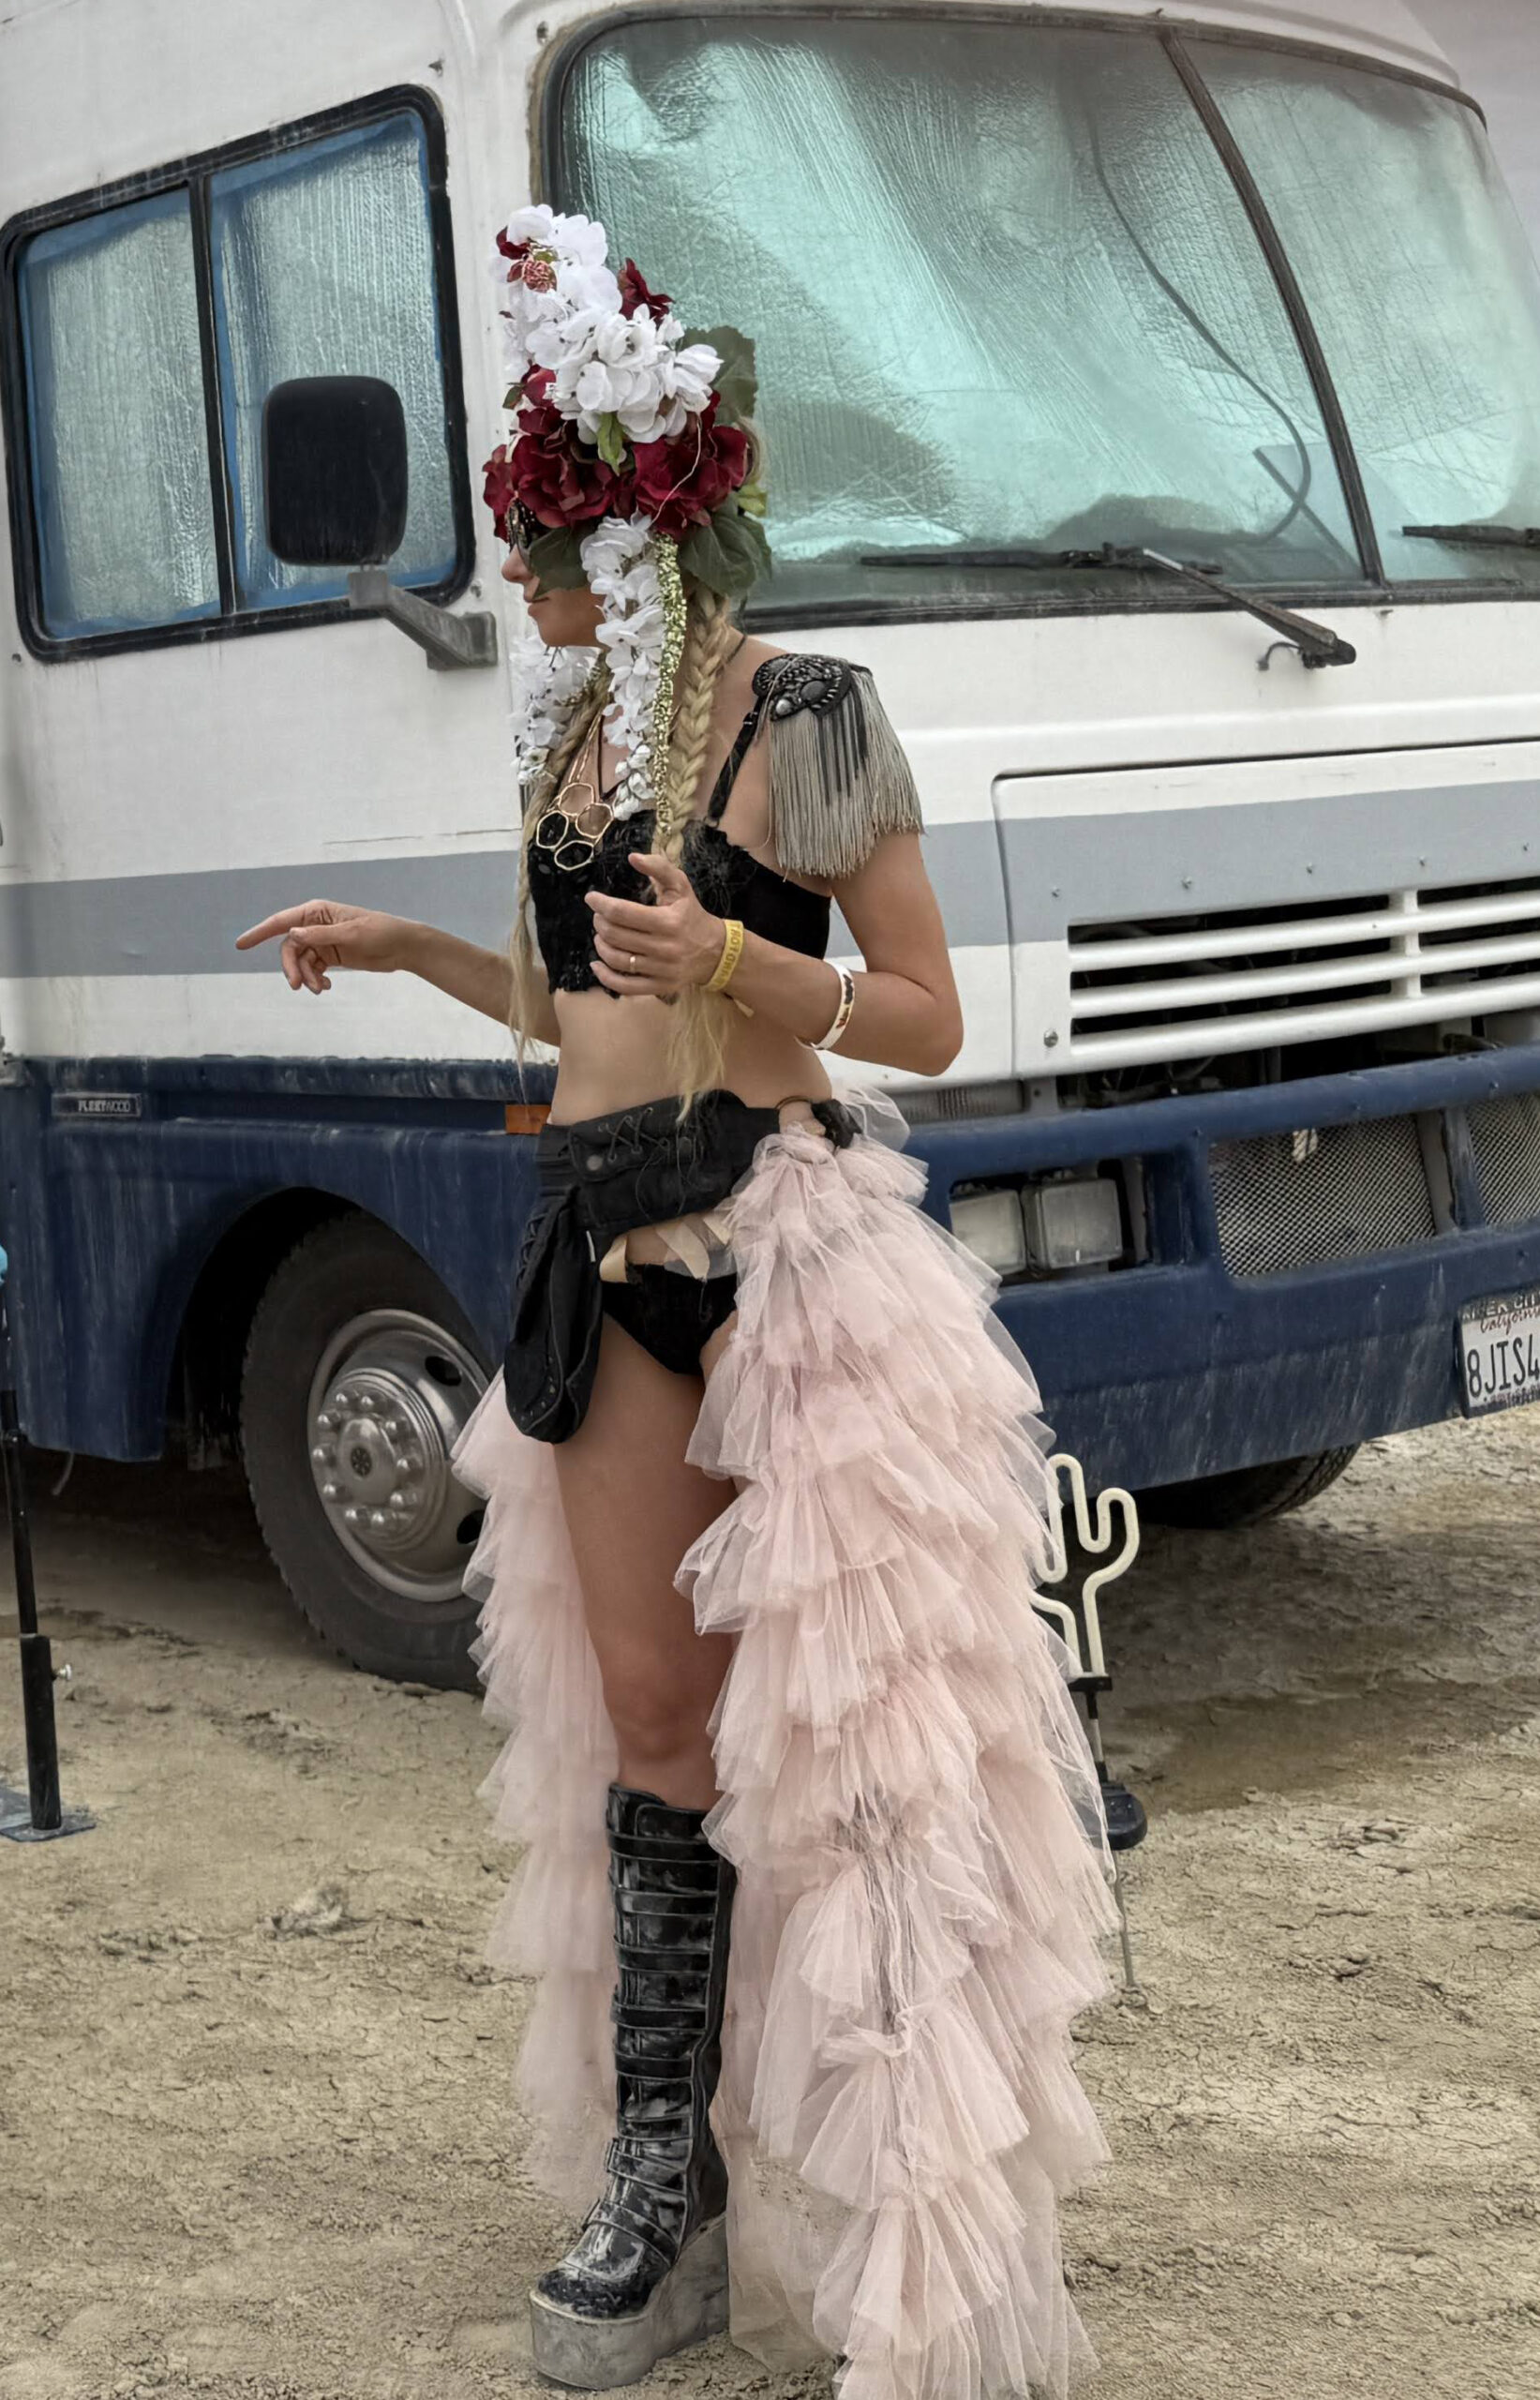
Each fabric is sewed on to half of the last fabric. It’s key the fabric is uniform and the sewing lines are even. OR if you want it to look very bohemian, you can eyeball the whole thing and see how it turns out. I didn’t pay great attention to this when I started so the first two are a little uneven but kept things more straight for the others as I went down.
When I ended a row I would naturally have the fabric sewn around the previous materials edge which is how it naturally got longer as I went.

I actually ran low on fabric close to the end so I ended up bunching it up less as I sewed so make up for the shortcoming. Because I did that it drew it in closer to my feet opposed to to feathering it out more but no complaints considering it was $15 of fabric. It looked way better than the ones online for quite a bit more money and I was proud to be able to say I made it myself.
Alternatively you can also made a based for the skirt in the shape you want and just sew the layers on with about 1″ of excess at the top for each strip/layer.
[…] ended up wearing this at Burning Man as well with a custom long tiered tie-on tulle tutu I […]